


Note:
Flashing LED lights operate 24/7 or dusk to dawn and are powered by a self-contained battery system, allowing them to run for up to 48 hours (2 days) without sunlight.
Recommended Accessories
Frequently Purchased Together


Product Information
Details
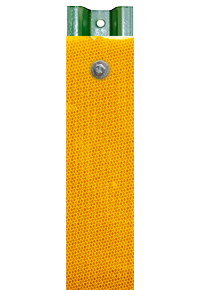
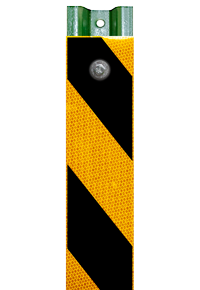
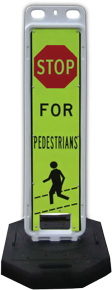
Our LED Solar Right Lane Ends Sign is designed to alert drivers of lane closures ahead, improving traffic flow and safety. With bright LEDs for enhanced visibility, this sign is crafted from durable materials to ensure dependable use in all traffic environments.
LED Solar Right Lane Ends Sign Features
- The LED Solar Right Lane Ends Sign is designed for installation on both new and existing poles.
- Sign comes in various sizes and reflective grades to suit your specific needs.
- MUTCD Compliant.
- LED flashing operates 24/7.
- Flashing LEDs enhance safety at intersections by increasing driver awareness of traffic control signs.
- Improved visibility both during the day and at night.
- With its adjustable tilting solar panel, it charges in just 6-8 hours and provides up to 48 hours of continuous use.
- Easily monitor the battery percentage digitally to stay informed about when a recharge is needed.

Solar Panel Unit and LED Specifications
| Modes | 24/7 Flash or Flash from Dusk to Dawn |
| Battery | 12V 7,500 mAh Rechargeable Lithium-Ion Battery |
| Battery Life | 6-8 hours to fully charge / up to 48 hours of use |
| Solar Panel | 18V 22W |
| LEDs | 8 LEDs (0.5W each) |
| LED Colors | Amber |
| Reflective Grades | EG, HIP, DG |
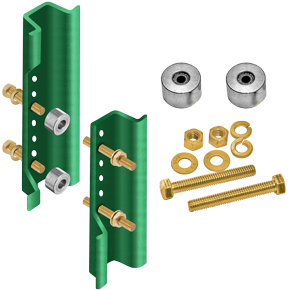
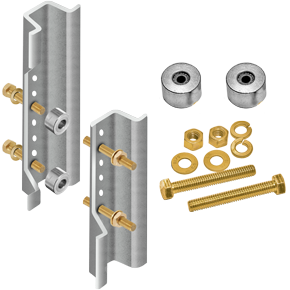
LED Solar Right Lane Ends Sign Installation
Step by Step Installation Provided Below:
-

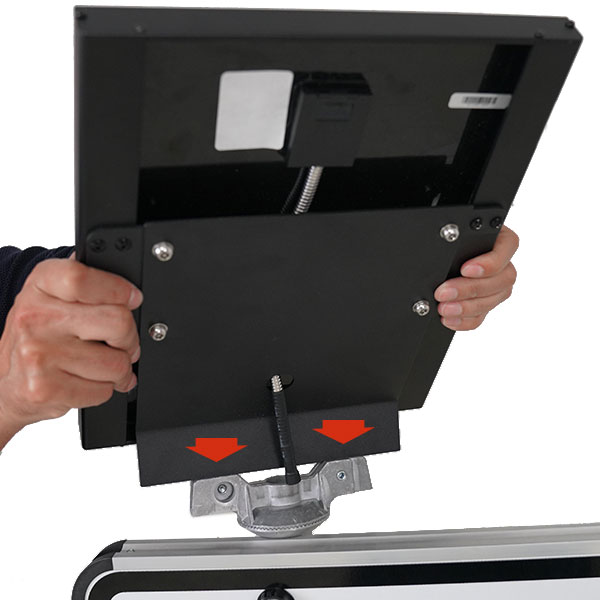
1. Secure the sign to the post using
the provided mounting bolts. -
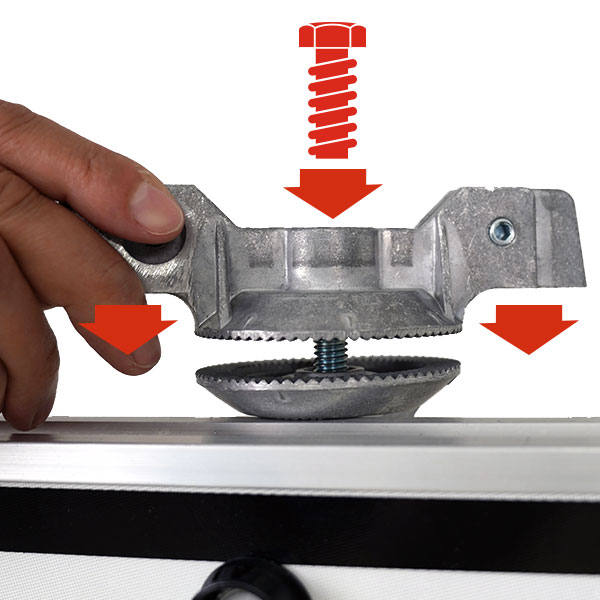
2. Position the bracket and screw for
the solar panel in their designated locations. -

3. Use a socket wrench to adjust the
bracket's angle, then tighten the screw securely. -
4. Align the solar panel with the bracket,
then place the solar panel into position. -

5. Use an Allen key to tighten the two
set screws, securing the solar panel to the bracket. -
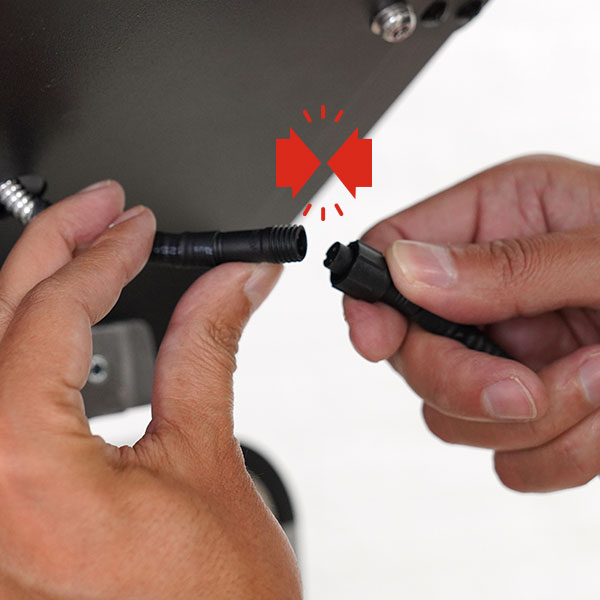
6. Connect the cable from the solar panel
to the cable from the battery. -

7. Turn the orange key on the battery to
switch between functions: Off, 24/7 flashing,
and night mode (dusk to dawn) flashing. -

8. Press the small button next to the
digital display to check the battery charge.
The first press shows the battery percentage,
the second displays the voltage (100% = 12.5V),
and the third press turns off the display.
Technical Resources
Data Sheet


